With Eureka's AI Vision System, you can go from unpacking the hardware to running your first successful picks in a single afternoon. This guide walks you through the basic setup steps.
For detailed setup guidance, please refer to Eureka's User Manual.
1. Hardware installation
Duration: 15 minutes
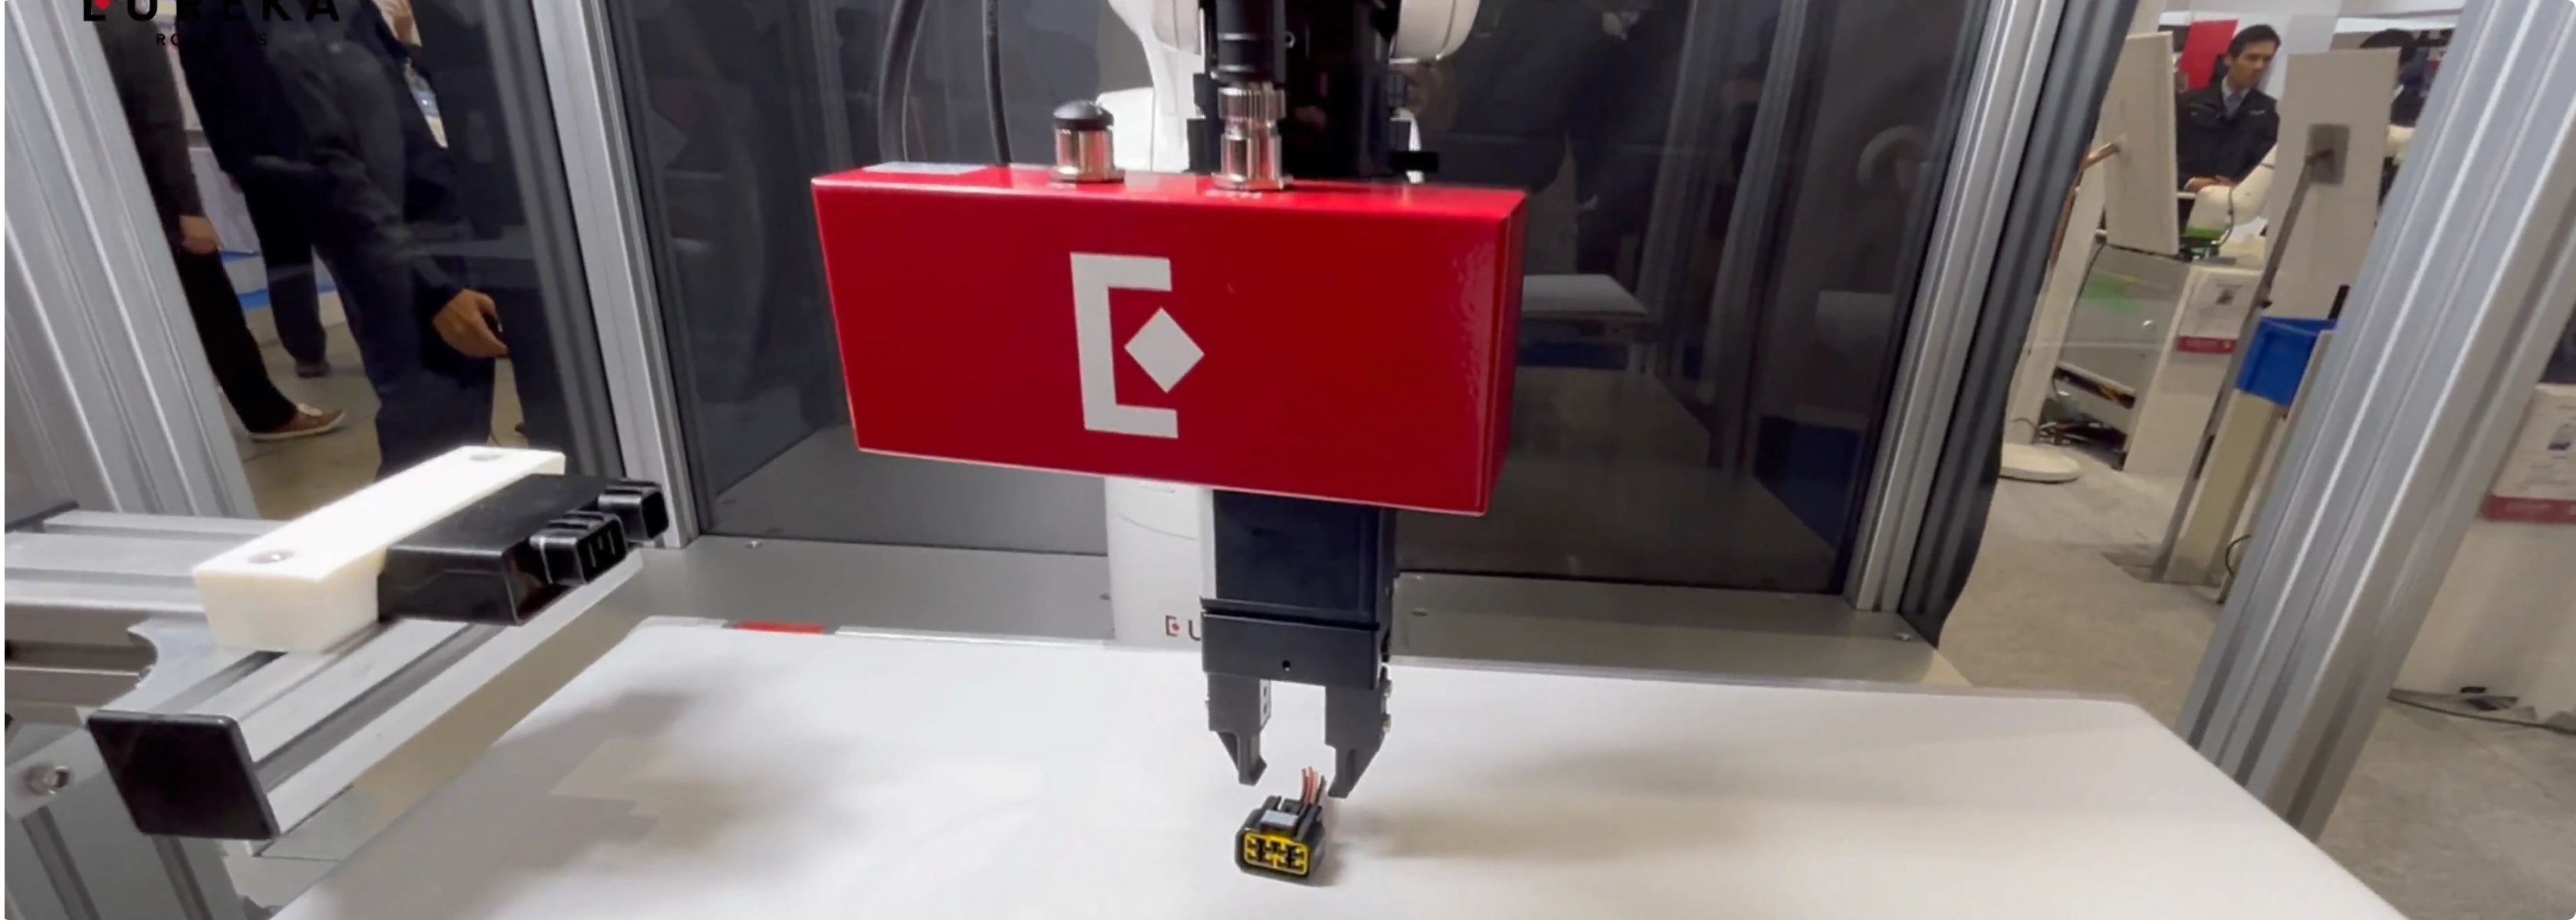
Mount the Eureka 3D Camera either fixed to a frame (most common for tabletop picking) or attached to your robot's end-effector (for deep bins or multi-station work). The camera comes with mounting brackets and adapter plates for major robot brands.
Connect one PoE (Power over Ethernet) cable from camera to switch to your Eureka Controller—that single cable handles both power and data. Plug in the Controller's power supply, and you're done with hardware.
2. Connect your robot
Duration: 30 minutes (for all major robot brands)
This step assumes you have a compatible robot arm that's physically set up (mounted, powered on, and mechanically ready). Eureka supports all major robot brands, including Universal Robots, ABB, FANUC, Yaskawa, KUKA, and Denso, out of the box.
Connecting your robot to the Eureka Controller is straightforward:
- Configure the network so your robot controller and Eureka controller can communicate
- Connect your robot to the Controller
- Open the Eureka Controller software
- In the Device Manager tab, add your robot by selecting the brand and model
- Enter your robot's IP address
- Click "Connect"
That's it. For first-time users, this process might take a bit longer as you familiarize yourself with the interface, but subsequent setups take just 10-15 minutes.
Note: If your robot brand or model isn't yet integrated into the Eureka Controller, additional integration time will be required. Contact Eureka's application engineering team for support.
3. Train the AI model on your parts
Duration: 30-60 minutes depending on part complexity (+ 1-2 hours of training, which runs in the background)
Note: Eureka’s pre-trained models can recognize and pick simple parts without additional training. In that case, you can skip this step.
Eureka's biggest advantage over alternatives is that you can train models without needing outside support.
With Eureka, you upload as few as 5 images of your part (this depends on part complexity), and outline the parts with Eureka’s smart segmentation tool (we call this “annotation”). It's like a magic pen: click once, and it traces the entire part automatically. Hit train, grab lunch while the model trains in the cloud, then deploy it to your Controller.
No CAD required. Eureka learns from camera images, making it perfect for legacy parts, supplier components with variations, or machined parts where as-cut dimensions differ from drawings.
For high-mix manufacturing where you're regularly introducing new parts, this self-service capability changes everything.
4. Camera-robot calibration
Duration: 15–30 minutes
Getting accurate camera-robot calibration can be a time sink. Not with Eureka’s Quick Calibrate™ technology. Here’s how it works.
Every camera ships with a calibration board. Mount it to your robot's end effector, then follow the semi-automated calibration routine in the Controller GUI. The robot moves the board to several positions while the camera captures images and calculates the precise spatial relationship between camera and robot coordinates.
Result: Sub-millimeter picking accuracy in 15–30 minutes.
5. Program the system: No coding required
Duration: Depends on application complexity
Eureka’s software provides a visual programming interface where you build robot applications without writing code. Think of it as connecting functional blocks rather than writing scripts.
Pre-built templates
For picking applications, the software already provides a complete project template. Any picking application can use this template, though you'll adjust parameters based on your specific use case.
What you'll configure
- Pick points: The AI generates a 3D point cloud, and for simple parts, Eureka's detection model often identifies pick points automatically
- Approach heights: How high the robot approaches before descending to pick
- Pick offsets: Fine-tune gripper positioning relative to detected objects
- Retreat distances: How far the robot moves after picking before traveling to place location
- Collision zones: Define keep-out areas to avoid obstacles
Digital twin
The 3D Viewer shows exactly what your system sees in real-time—not just the camera feed, but also the robot motion, pick points, and workspace layout. Everything in the simulation matches reality, so you can debug and optimize without running the physical robot continuously.
6. First picks and optimization
Duration: Depends on application complexity
Place your parts in the camera's view and capture an image. Configure your approach heights, pick offsets, and retreat distances in the GUI, then run your first pick cycle.
Don't expect perfection immediately—you'll tweak camera exposure, gripper angles, and collision zones based on what you see. Most engineers get reliable picking working within their first afternoon.
After your first successful picks, run the system continuously to validate performance across multiple cycles. This helps identify any edge cases or adjustments needed before moving to full production.
What you'll need
Hardware:
- Eureka 3D Camera
- Eureka Controller
- Compatible robot arm (see supported brands)
- End-of-arm tooling (e.g., suction cup or gripper)
- PoE network switch (any standard gigabit PoE switch)
- Calibration board (included)
Optional:
- PLC for production integration (Ethernet/IP or Modbus TCP/IP)
- Pattern projector for highly textureless parts (EFFI-Lase V2, Opto Engineering)
Skills:
- Basic robot programming (teach points, I/O)
- Factory network knowledge (IP addresses)
- Mechanical aptitude (mounting, cabling)
Eureka's application engineers are here to help you get started
If you have questions or need help getting your first vision-guided robotics system off the ground, don't hesitate to reach out. Our engineering team is here to help.